Newer devices
Starburst Turret
How to build things like this
Robot
About Me
Hexapod Robot Leg
This project is still incomplete; my overall goal is to make a hexapod robot that can climb over/around obstacles. I want to experiment with different sensors on the legs. For example, I'll attach whiskers to force sensors, so the robot can efficiently make a basic model of the surfaces around the leg. (E.g., the robot could quickly determine the height of a stair step by raising a leg against the step, and noting the height when a whisker snaps free. Then it could continue raising the leg to place it on the step.)
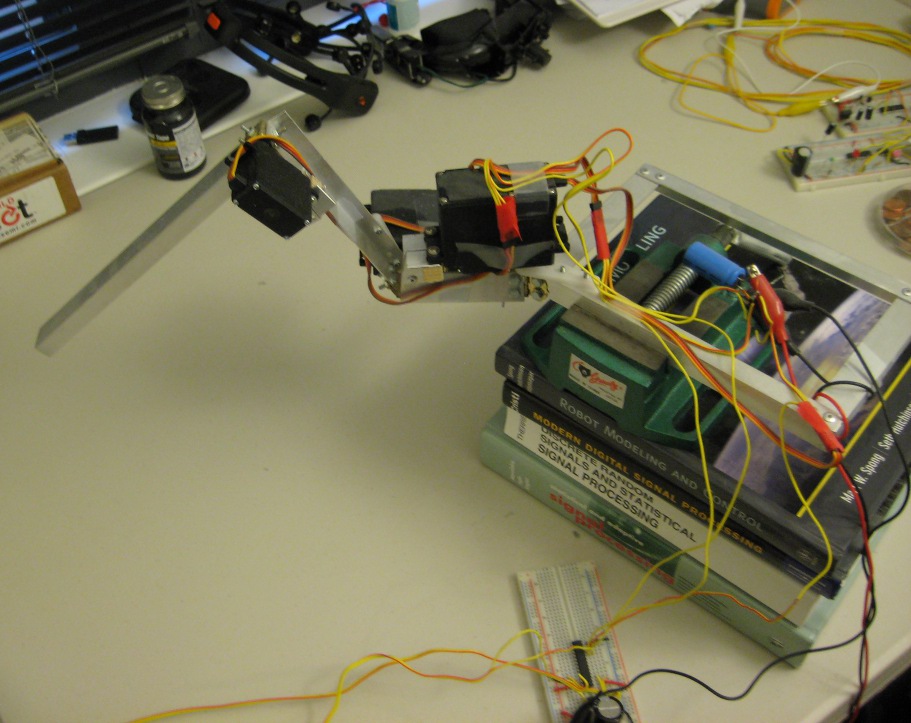
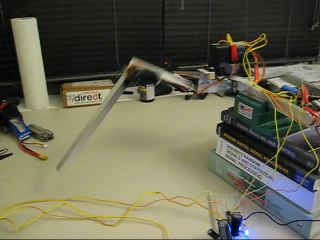
First, I need legs for the robot. My first attempt uses aluminum "angle iron" for the frame, held together with hinges, actuated by standard hobby servos. I fabricated it all myself, and selected some cheap but beefy servos (with a torque of 20 Kg-cm) to meet my estimated strength requirements for the finished robot.
After building the leg, I discovered that hobby servos are not ideal for control of a robot limb. Although they can apply the advertised torque, they apparently use a simple control system which starts oscillating when it's asked to control something with a lot of momentum (see the video below). As a result, I ordered some fancy, digitally configurable servos which I hope will fix that problem (the AX-12 servo, designed for robots.) I'll update this page when I test out the new servos. <Update: they work great and fixed the oscillation.>
However, the cheap servos worked well enough to test my basic leg-control code: I wrote a Java application which performs the "inverse kinematics" of the leg, meaning that I can type in a desired x,y,z position for the foot, and the program computes the joint angles that put the foot there. Then it transmits the angle commands, via serial port, to a PIC microcontroller, which commands the servos to set those joint angles. In the video below, the program transmits a sequence of foot positions to move the foot in a circle:
You command the angle of a standard hobby servo by giving it a variable-duration digital (5V) pulse on its control input. Typically, a 1ms pulse means full counterclockwise, and a 2ms pulse means full clockwise. You repeat the pulse every 20ms. The exact relationship of pulse length to angle depends on the specific servo (some may be 1.25ms to 1.75ms, for example).
So, my program also provides a calibration function to map servo pulse time to the real-world angle of the servo: I just put in an arbitrary pulse width, measure the angle that the servo moves to, and report it to the program. With two such tests, my program can solve for the linear relationship (y = mx+b) to convert angle to pulse time, and from then on it will output the correct pulse time to the microcontroller. At the end of the video above, you can see the length of that pulse on my oscilloscope; it changes as the program commands different angles on the "shoulder" servo.
The below Microchip PIC code can be used in general to control up to 10 hobby servos in response to computer commands. It uses a 74HC4514 decoder chip to send the pulse to the correct servo; microcontroller pins RA3-RA0 are connected to the address inputs of the decoder chip, and the decoder chip outputs are connected to the servo control lines. The PIC code is available here:
If you follow my PIC tutorial, it will show you how to put that code into a project and onto a PIC.
The Java code that performs the inverse kinematics and outputs serial commands is below. Consider it version 0.1 and barely tested; if you use it, email me and I'll be happy to help you understand it:
Kinematics calculation and serial comms only (no GUI): robotControl.java
Complete Eclipse project (includes GUI code): SpiderRobot.zip
The code uses the RxTx library to allow Java to talk to the serial port. Since RxTx is part of the project file it should work out of the box, but if you want to use it for other projects, instructions to install RxTx for Eclipse are here (use the "Alternative Way" at the bottom of their instructions). The project file uses the Eclipse development environment, which is by far the best way to program Java. (And since Java is the best way to program in general, you should be using Eclipse.) For the GUI, I used Google's WindowBuilder plugin to Eclipse; I recommend it as well.